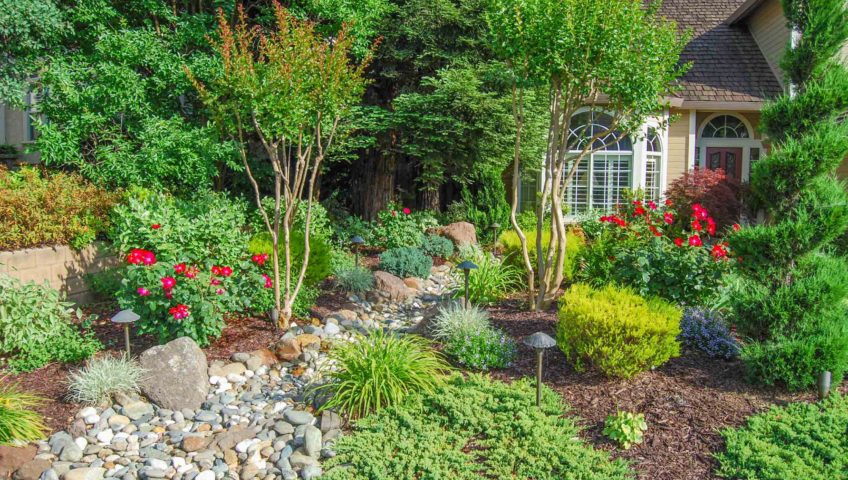
Stream Bed Front Yard in Roseville
MAKING THE FRONT YARD HILL FUNCTIONAL
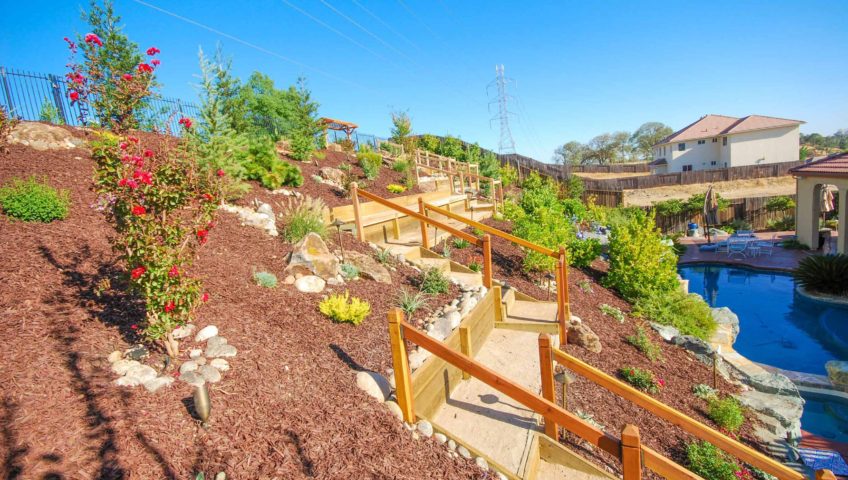
I think we all agree that hills come in many shapes and forms, and their shape determines how they best can be used. It is also important to know whether the slope is in the backyard or front yard. A backyard slope is used differently than a front yard slope. Back yards are for play, relaxing and entertaining. Front yards are for curb appeal and access to the front door.
With this being a front yard slope, access was important and somewhat limited when all the family would come over. Therefore, we had to find another route to the front door. The next concern was the desire to conserve water and reduce yard maintenance (mowing). Our client enjoyed mowing, but not to this extent (see before photo). Another issue was that the driveway was awkward. It was a shared driveway with the neighbor, and so the design was not conducive to ease of use. Pulling into the garage was fine, but pulling out, there was no room to turn the car around. They had to back out uphill.
The client requested that we extend the driveway’s width to allow enough space to be able to back out of the garage and do a three-point turn, enabling them to drive forward. These were great requests, and brainstorming on how to fulfill them was fun and challenging. The best part was these were past clients. Last year we designed and landscaped their backyard, which took 1 1/2 months, and they had become good friends. People are the best part of any job.
We are delighted with our yard! Dennis and I had a vision in our minds when we saw some of your work in HOME Improvement & Remodeling Magazine. You made that vision in our minds into a reality! Thank you.
We have already had numerous compliments from friends, family, and neighbors.
DRIVEWAY EXTENSION AND WALL
This had to be done prior to anything else. The hill needed to be cut back approximately seven feet for Benjamin and Kathleen to have enough space to turn around. This was October 2018, so I was grateful it was not later in the year where rain could become a concern. Once we cut back the slope, we could determine the height and type of block, style and color. Kathleen selected Stone Wall II in the Sedona color from the blocks I showed her. She enjoys the rich colors of the desert style landscapes, the varying reds, tans and creams. This was a very important first step, for these colors would be carried throughout the design. Upon completion, the wall looked quite nice for a bunch of blocks of colored cement. I always tell my clients that in the landscape the premanufactured blocks look better than how they appear in the catalogs. They are also about 1/3 the cost of cinder block and veneer walls.
Having completed the wall, we then started on the pavers. I was anxious to get this phase completed. I wanted to make driving out of their driveway easier for my friends. As mentioned in the last article, blocks and pavers are made in the same color selections, so the color of the pavers was also San Reemo. The finish of the paver, as well as size had to be decided. I like the bigger pavers, they look less busy and it’s easier to see the pattern. Kathleen liked the textured finish, so we selected Artisan Slate Premier. Since we do a lot of pavers, we have three patterns that we like to use. The patterns vary by how many of each of the three sizes are used. One pattern uses more of the larger pavers, this pattern is used for larger areas. The other two patterns use less of the larger size paver and more of the square and rectangular pieces. These are mostly for smaller patios and sidewalks. We used one of our smaller patio patterns. The extension turned out very nice, though it does not go with an aggregate driveway (a new driveway is in the plans). In the second photo you can see a small portion of the pavers. Upon completion, both the wall and pavers complimented each other nicely.
FROST CONCERNS
Oddly enough, the only disconnect in the whole design was the plants. Because of the frost concern in Auburn, it made it difficult to install a desert type landscape. Many of the varieties in a desert theme landscape are not frost hardy. There are some from the high desert that can handle the cold, but they are not readily available. You must work with the tool’s nature gives you, literally speaking. We focused on vivid colors and deer proof plants, which to some extent does limit selection. This will be a March/April story, so the pictures seen now (taken in February), show that the landscape is largely dormant. Next month we will discuss the steps and the plant selection, and by then we will have more flowers and full leaf trees. The landscape was completed in October and November, so it is relatively new. I am anxious to have it leaf out, so Benjamin and Kathleen can fully appreciate their landscape. I am the only one who knows how the landscape is going to look. A very nice surprise awaits them.